The following example shows you how the WebApps Queue can be applied to a business case scenario where specific metadata is required for the processing and delivery of scanned documents. The metadata is saved as part of a job and can be used as Search criteria when looking for documents in an archive. This example is for illustrative purposes only and may not reflect your company’s unique configurations.
Metadata Queue Workflow Example
The Administrator at Company A creates a queue so that designated queue users can apply and save predefined Client Profile ID and Business ID metadata to jobs.
Note: Not all steps will be highlighted in this example. See Configuring WebApps Queue for more information.
The Administrator creates a queue and specifies the following general properties by using the Queues node on the Server Administrator tree.
-
Queue name
-
Email address
Note: The email address is a unique ID used by the queue for routing (rules) and other parameters to ensure the jobs go to the correct queue. It does not have to be a working email address from your company's address book, but it must have an email address format; for example, queuename@domain.com. The email address must be unique for each queue available on the Queue list if more than one.
See the Queue Properties > General dialog box below.

The Administrator provides Queue and Queue Access to groups by using Configuration > Groups on the Server Administrator tree.
-
Clients > Queue and Features > Queue Access.
See the Group > Clients and Features dialog boxes below.
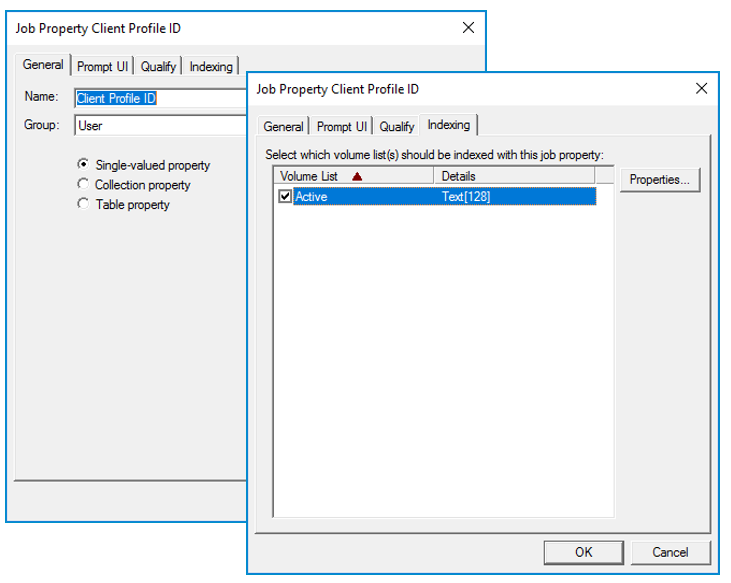
The Administrator creates Client Profile ID and Business ID and indexes user job properties by using Configuration > Job Properties > User on the Server Administrator tree.
Note: These job properties are the metadata that queue users will apply to jobs in their respective queues.
See the Job Property Client Profile ID General and Indexing dialog boxes below.

Note: The Business ID job property and indexing steps are the same as Client Profile ID.
The Administrator adds the Client Profile ID and Business ID user job properties to a queue’s properties, Collection > Grouping folders and listing (columns in Grid view) by using Queues on the Server Administrator tree.
See the Queue Properties, Collections, Groupings, and Listing dialog boxes below.
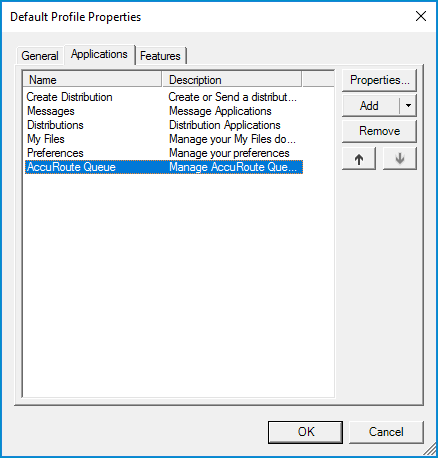
The Administrator adds the WebApps Queue application to the WebApps Default profile by using WebApps on the Server Administrator tree.
See the Default Profile Properties dialog box below.

See also